Edelbrock Pro-Flo Multi Point EFI System #3509
Edelbrock Pro-Flo Multi Point EFI System #3509
Edelbrock Pro-Flo Multi Point EFI System #3509
Back to EFI page 3 |
|
Part IV: ...In With the New |
|
|
|
|
|
|
|
|
|
|
|
|
|
|
|
|
|
|
|
|
|
|
|
|
|
For me, nothing seems to come without a struggle. For starters. I pick the hottest week of the year to do this job. We keep our FMC in an uninsulated metal storage shed. That, coupled with the around-100 deg F temperatures kept the job pretty sweaty. The one advantage I had was the Transit has a nice big (about 18" x 30") hatch directly above the engine through which I could work (and take pictures).
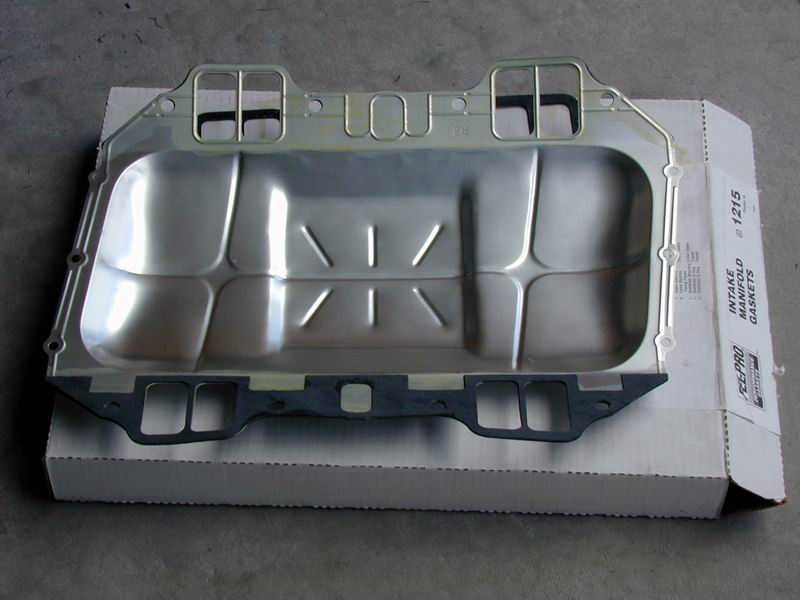
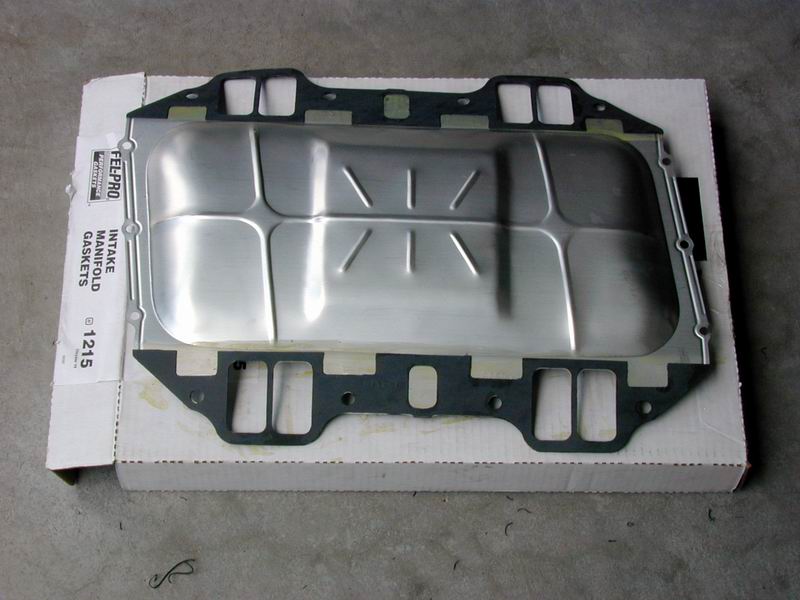
Then there was the new intake manifold gasket. The Edelbrock manual recommended the the Fel-Pro #1215 gasket. This comprises a metal pan base gasket with paper gasket faces, along with O-rings and paper gasket for the distributor. I spent a lot of time very carefully trimming all the excess from the paper gaskets and cementing them in place with Gasgacinch (kind of a thin contact cement). I used the recommended Loctite 518 high temperature RTV gasket maker on the end seals of the gasket.
When I went to install the new intake manifold assembly, the bolt holes wouldn't line up. It turns out that the paper gasket faces made the gasket too thick. Since the seating surfaces made a "V", that pushed the manifold up and effectively made it too wide. So, I got to spend another big bunch of time tearing the paper off and cleaning the Gasgacinch and RTV from the gasket and starting all over again. Grr...
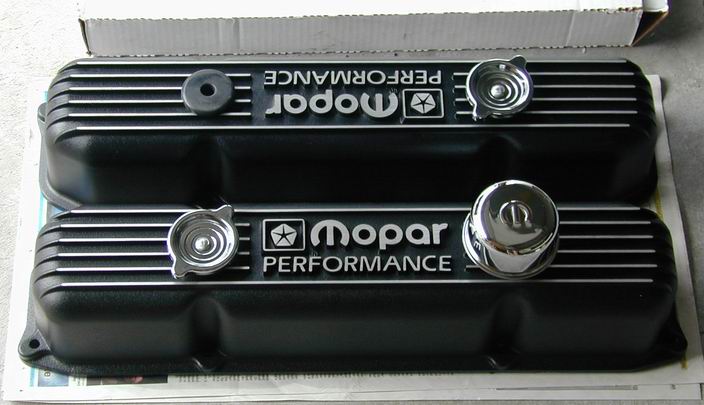
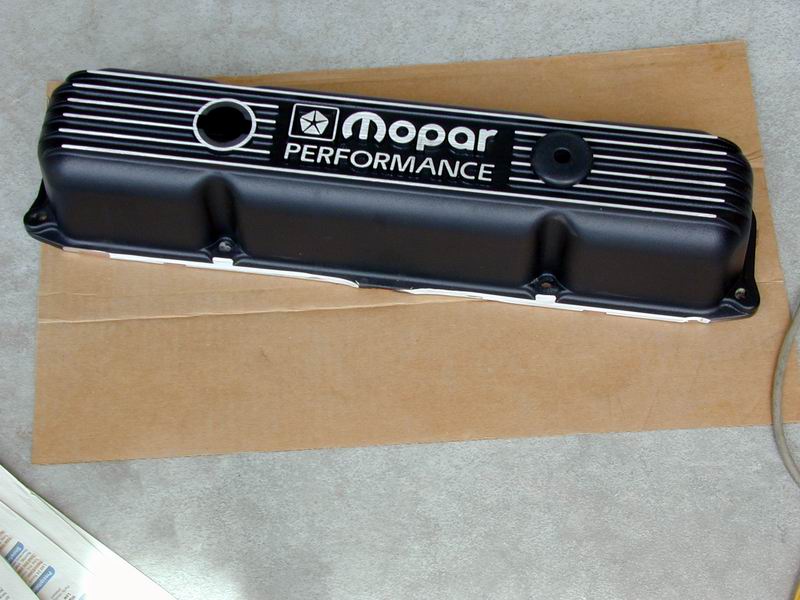
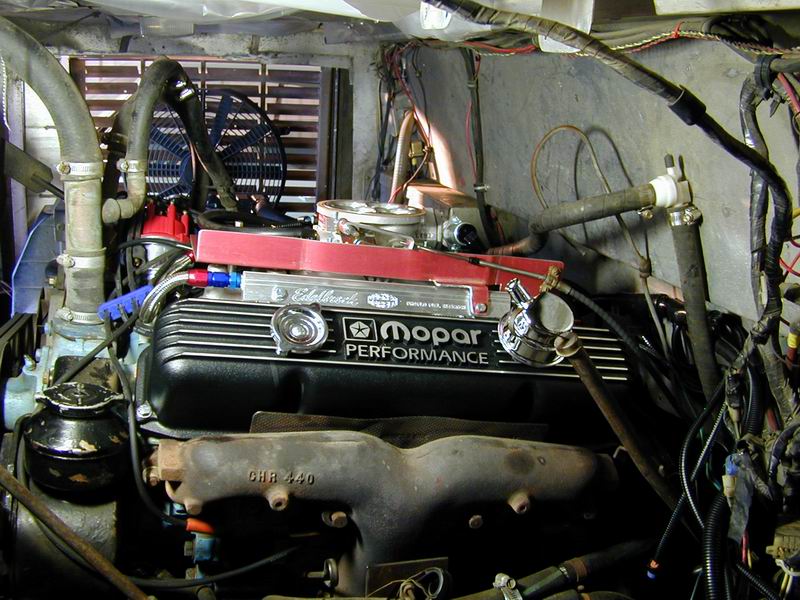
But the worst was yet to come. Next up were the new Mopar Performance Cast Aluminum valve covers. I was unhappy with the sealing characteristics (or lack thereof) of the Moroso stamped steel covers, so I ordered a set of the Mopar aluminum ones. Turns out, these are the valve covers from hell! They have punch-outs to install grommets for the crankcase breather and PCV valve. Turns out, the holes are too small in diameter and the flanges too thick for the Mopar-supplied grommets (extra cost). $40 in machine shop costs rectified that. More Grrrr...
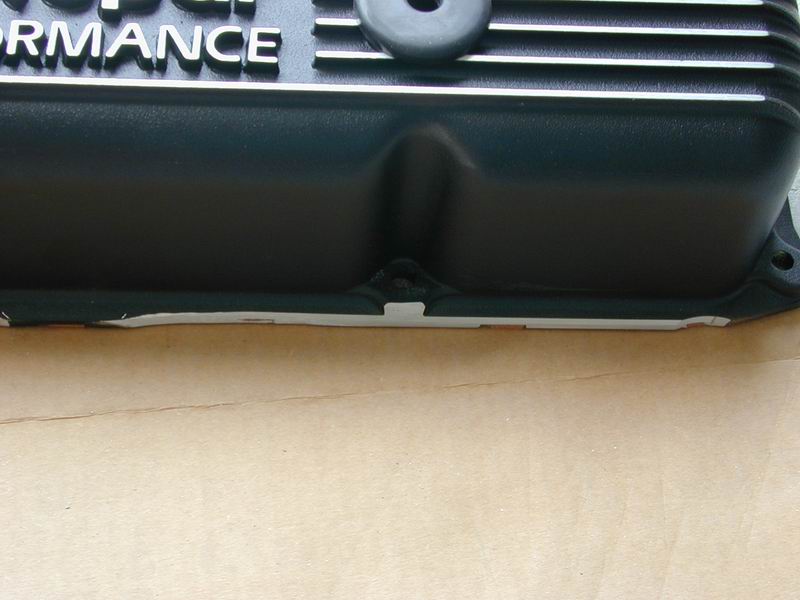
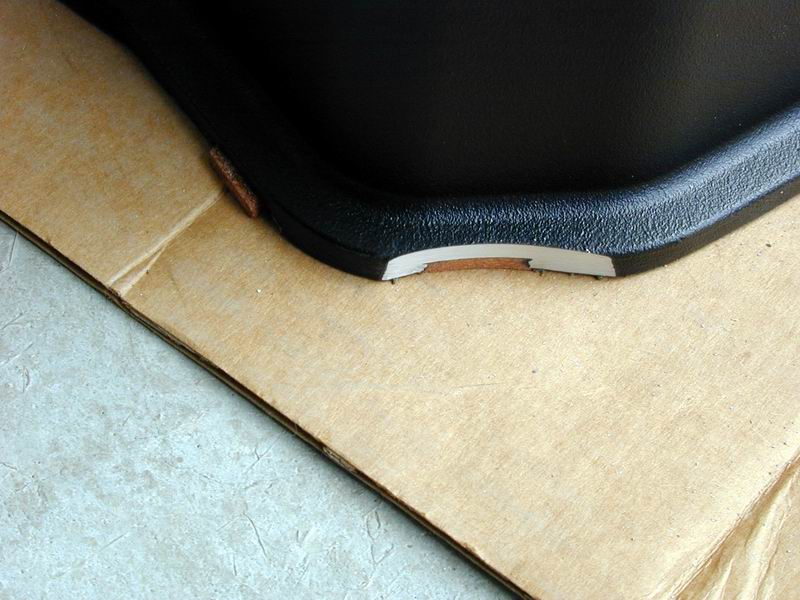
So I installed the grommets, Gasgacinched on my new Fel-Pro high temperature gaskets and went to install them. Of course, they don't fit - they hit on the exhaust manifold! I worked for ages with my 4-in-hand file before wearing out my hand and quitting for the day. Went back the next day with our disc-belt sander and finally made they fit.
One more problem: the new valve cover also
hit on the new Mallory billet distributor. Seems that the new
distributor sits about 5/16 to 3/8 of an inch higher than the old one
- which sat
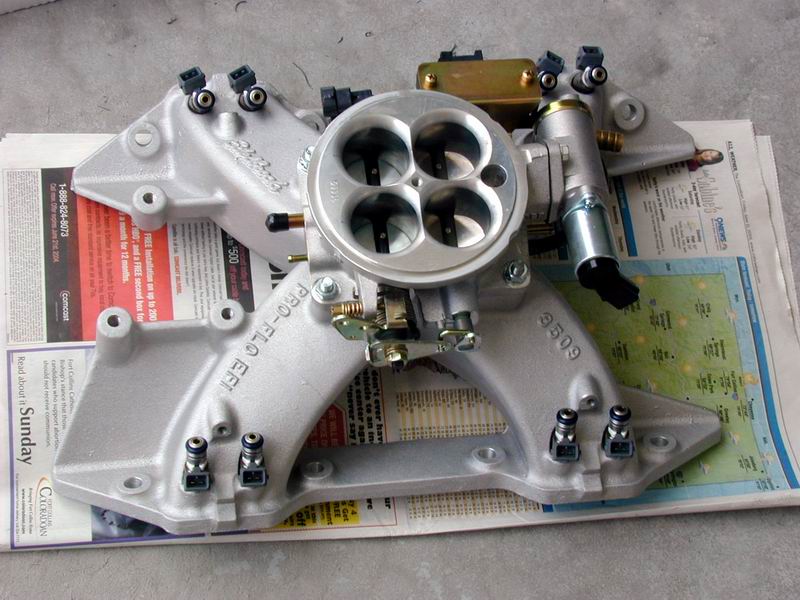
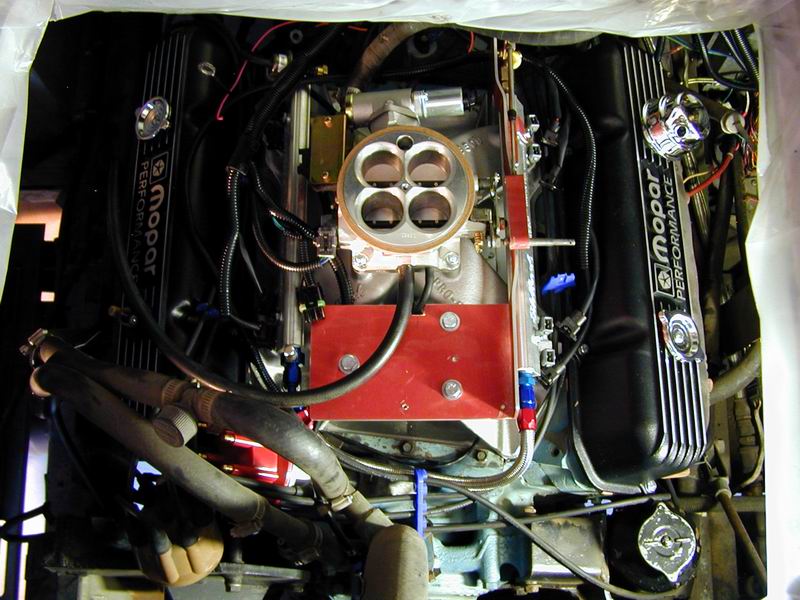
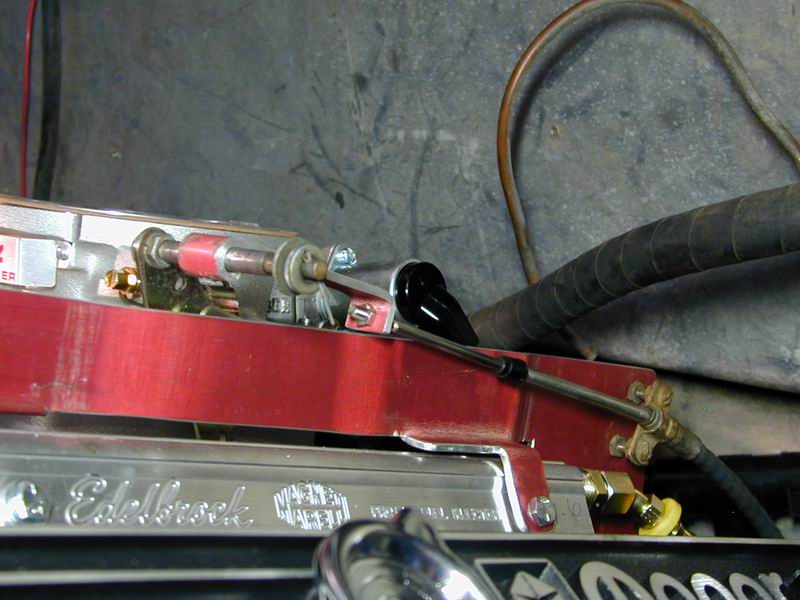
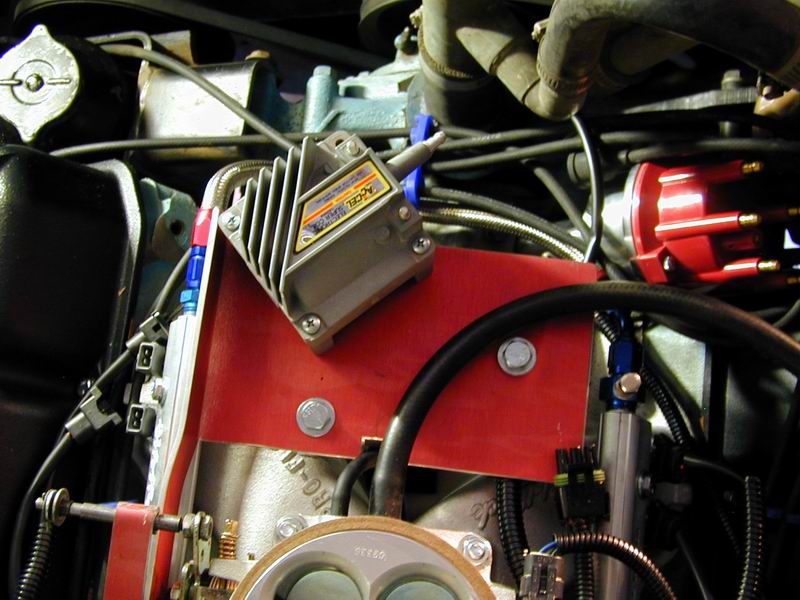
So that left the new throttle cable anchor and coil mount. We ended up making this out of our trusty sheet of 1/8 inch anodized aluminum. We bought that years ago for a job (it was much bigger than we needed) and have been using it for jobs ever since. There is even a stack of spacers on the radiator fan made from that material.
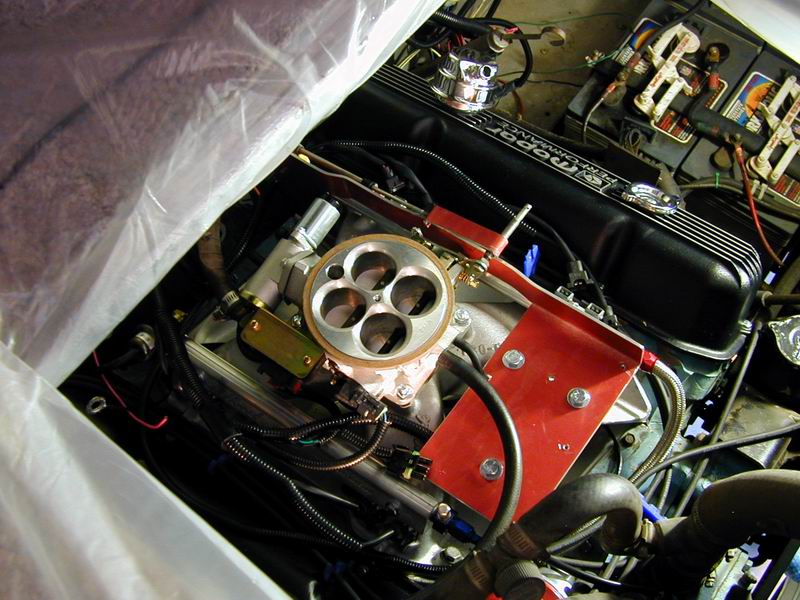
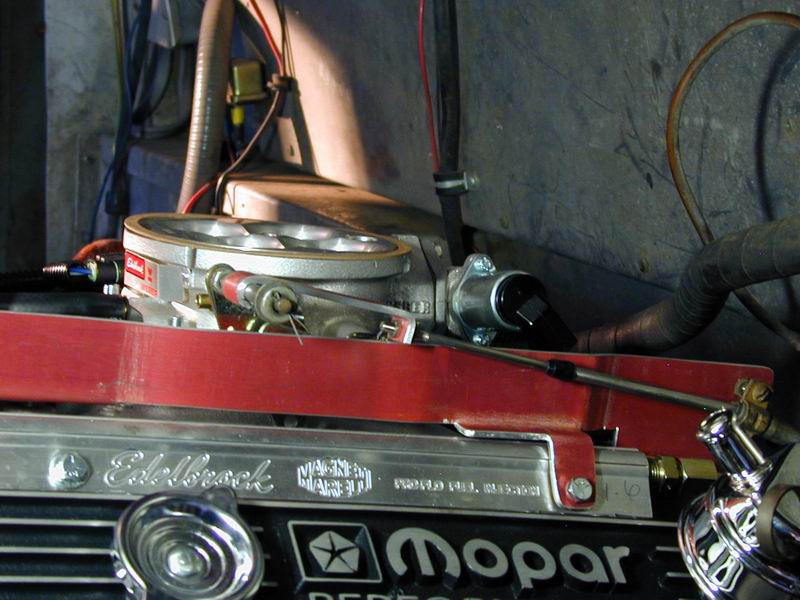
It took nearly the entire day to cut and fit that bracket. It is attached with three bolts in front of the throttle body (with spacers), and the tail is anchored by one of the fuel rail bolts. The new Accel Super Coil and throttle cable are bolted onto this bracket/plate. We made a new link between the throttle and the cable with the same material, forming it around a bolt to get the proper shape.
With some minor re-routing of the throttle cable, it has a very light and smooth operation, without needing any additional return spring (like both of the old throttle bodies had). It was very nice to end the day with such a nice sense of accomplishment in making something that looks nice and works well...
![]()
You are visitor number
email:jim@steinborn.org